 English
 Español
  Português
  русский
  Français
  日本語
日本語  Deutsch
  tiếng Việt
  Italiano
  Nederlands
  ภาษาไทย
  Polski
  한국어
한국어  Svenska
  magyar
  Malay
Malay  বাংলা ভাষার
  Dansk
Dansk  Suomi
Suomi  हिन्दी
  Pilipino
  Türkçe
  Gaeilge
  العربية
  Indonesia
  Norsk
Norsk  تمل
تمل  český
český  ελληνικά
  український
  Javanese
  فارسی
فارسی  தமிழ்
தமிழ்  తెలుగు
  नेपाली
  Burmese
  български
  ລາວ
ລາວ  Latine
  Қазақша
  Euskal
  Azərbaycan
  Slovenský jazyk
  Македонски
  Lietuvos
  Eesti Keel
  Română
  Slovenski
  मराठी
मराठी  Srpski језик


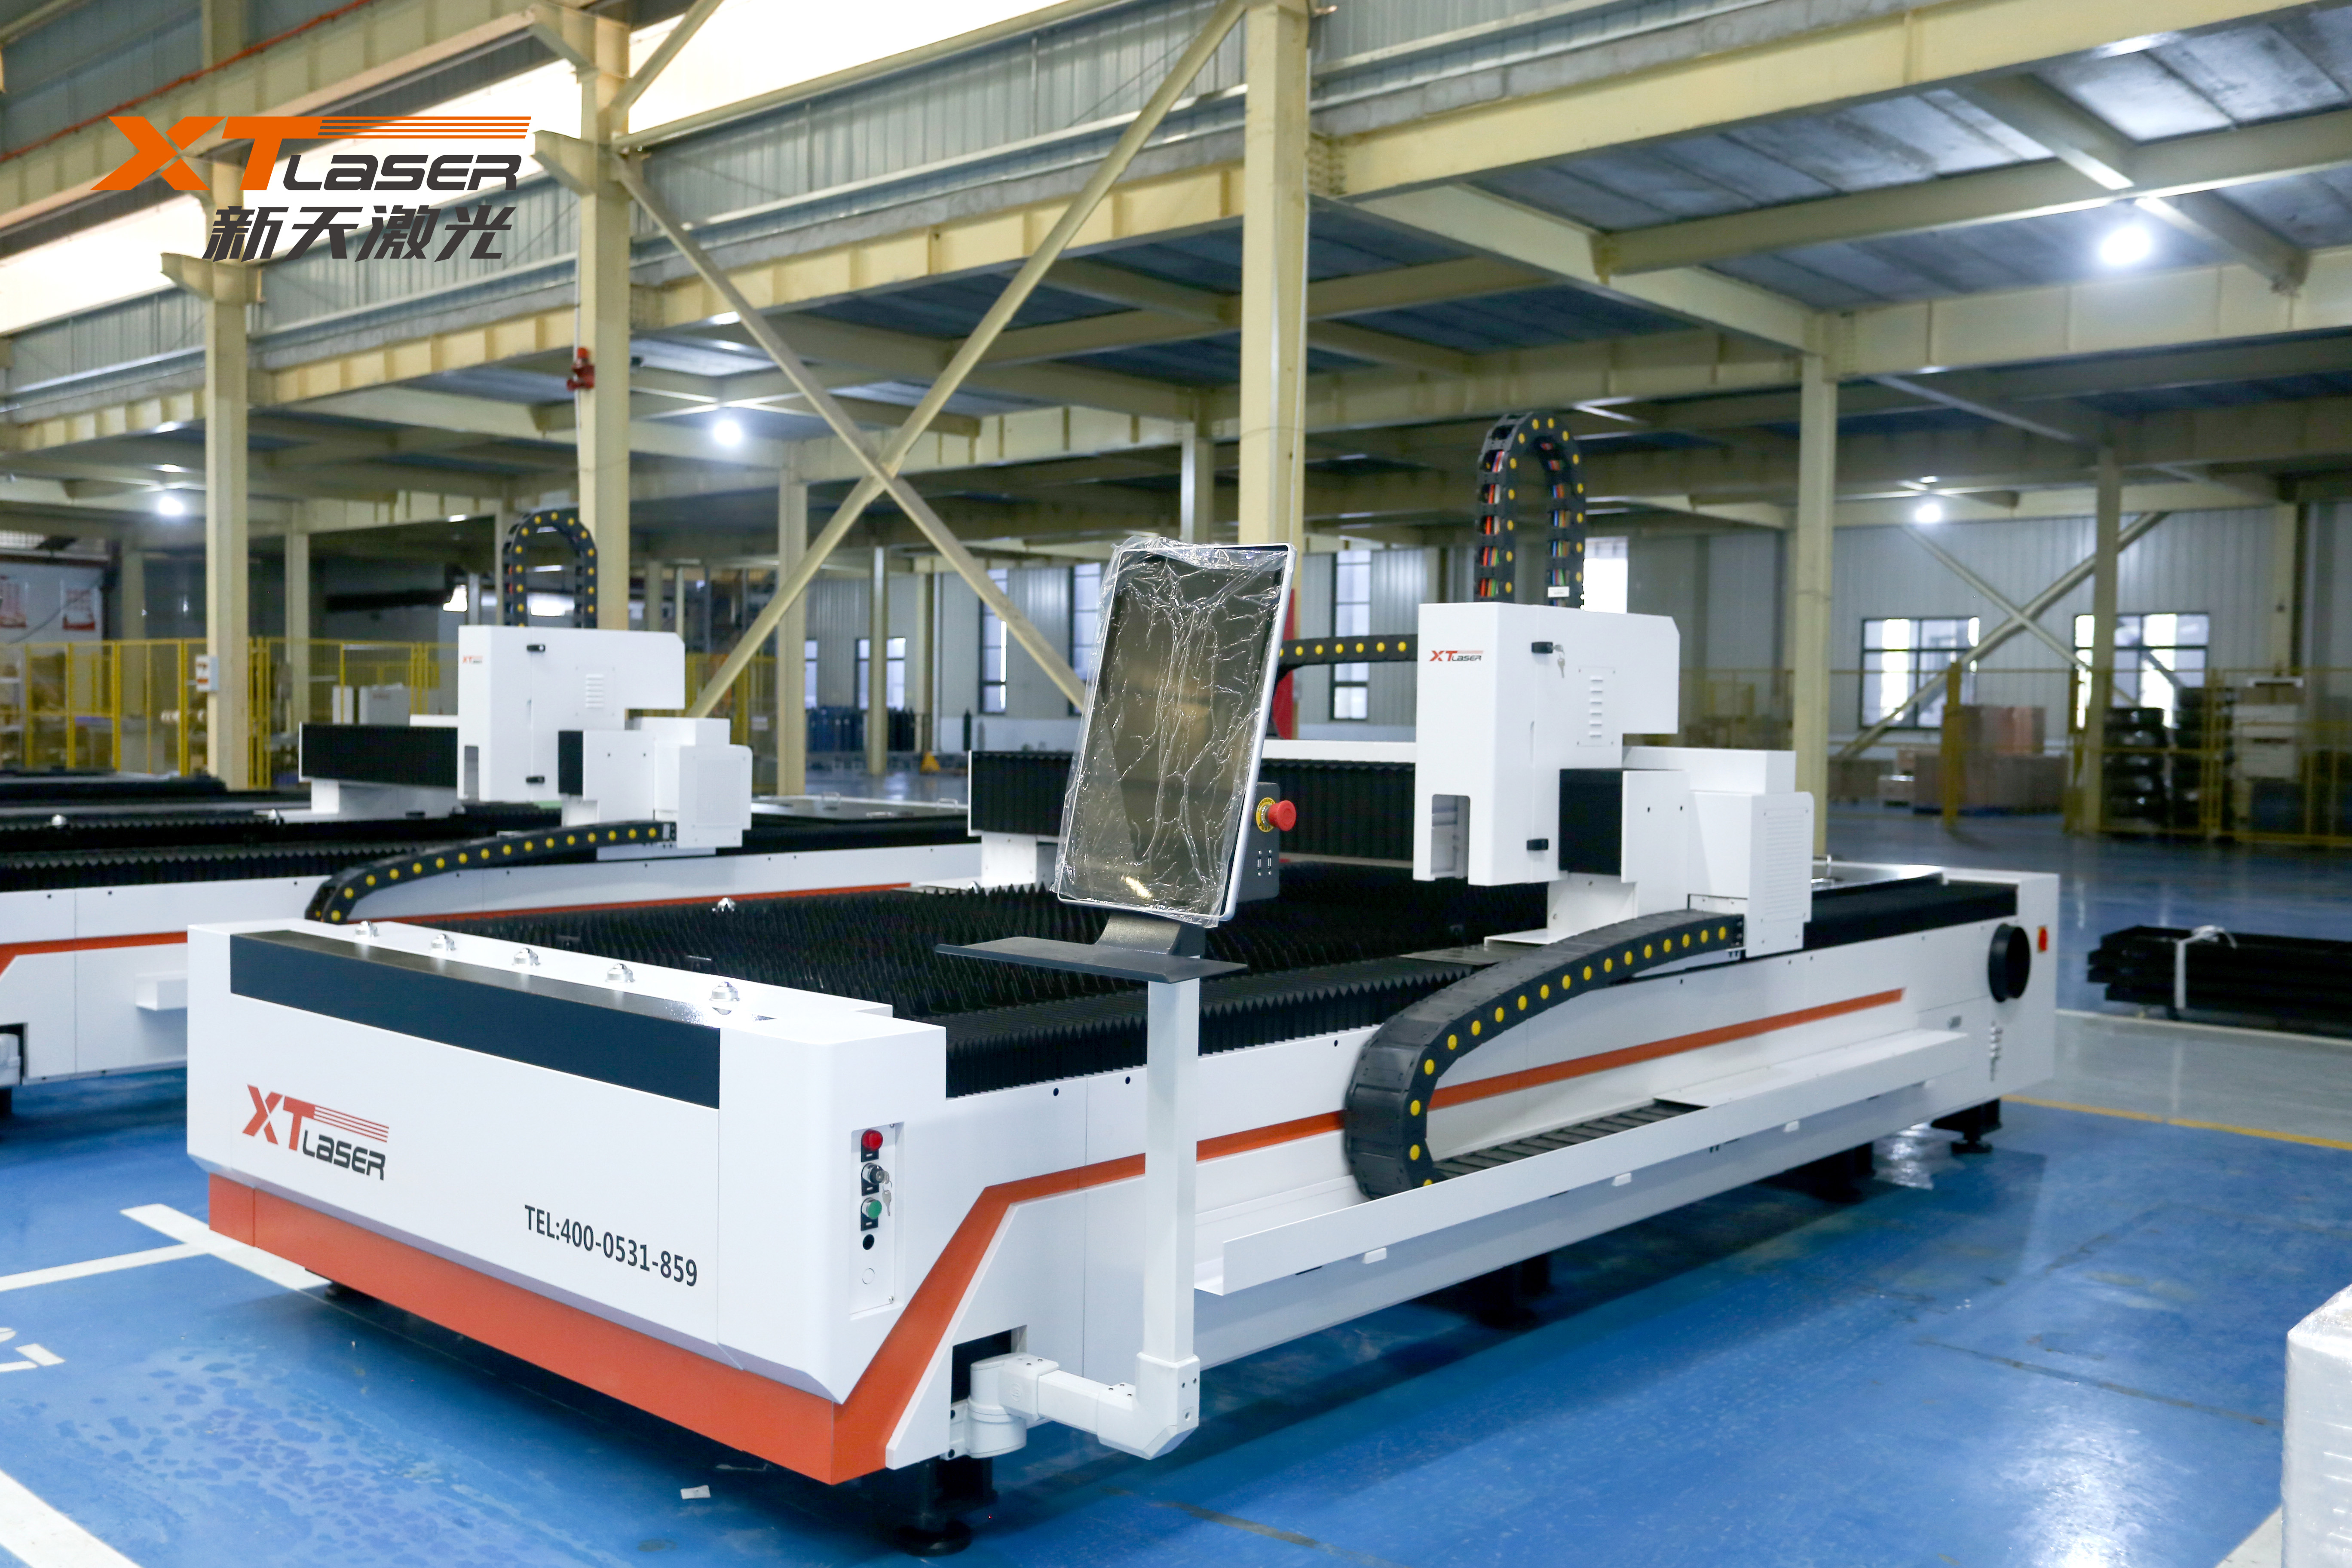
Use of laser cutting machine
2023-01-31
Startup steps of laser cutting machine
Turn on the main switch → turn on the water cooler → turn on the servo controller (start button) → turn on the computer (button).
Plate cutting by laser cutting machine
(Every time the machine is started or the nozzle is replaced, it is necessary to return to the original point for calibration once: CNC → BCS100 → return to the original point → confirm BCS100 → F1 calibration → 2 floating heads calibration → put the nozzle close to the circuit board → normal → display good → normal. When changing the nozzle, it is necessary to use coaxial: stick the adhesive tape under the nozzle and press the laser to spot whether the point is in the center of the circle) Turn the key to the cutting direction → open the cutting software → open the gas → unscrew the laser (Note that the water temperature must be at 22 ℃ - 26 ℃ before the laser can be turned on) → left click on the file → click on Read → select * *. dxf file (to cut the figure, it must be in dxf format) → click on the process parameter (F2) (select the die cutting with rust, select the pre-perforation when there are many holes. When cutting the thin plate, you can cancel the slow start in the process, and set the slow start for the thick plate) → select the thickness of the plate (f: focal length, oxygen pressure, nozzle. The size of the focal length air pressure nozzle needs to be manually adjusted on the cutting head according to the display screen. The nozzle d is a double-layer type, suitable for cutting carbon steel plate. The nozzle s represents a single-layer, suitable for cutting stainless steel and galvanized plate) → Replace the nozzle, adjust the air pressure, and adjust the focal length according to the display in the lower right corner.
① When cutting graphics: click Sort (select small image first) → press and hold the left button to select graphics → click Yin or Yang cutting (Yin cutting starts from the inside of the line, not the inside of the line. Yang cutting starts from the outside of the line, not the outside of the line) → select graphics → lead (check whether the Yin cutting or Yang cutting is correct, the lead length of the plate thickness is about 6mm, and the lead length of the sheet is about 3mm. The position of the lead can be set according to the total length of the graphics) → Open the light valve → find a point → stop at the point (the board stops at the lower right corner, and the board stops at the lower left corner) → walk along the edge → the remote control starts cutting. (You can also find a point and mark it on the software → go to the boundary → cut. Next time you can directly return to the mark and go to the boundary without looking for another point.).
2. When cutting a line: select a figure → select the order of complex figures and small images first (ignore this step for simple figures) → start point A → select all → array → 1 × 10 row offset is 0, column offset is 0 → select all → total edge → select all → explosion (lower left corner) → select all negative or positive cutting → lead (lead length) thick plate ≥ 5mm, thin plate ≥ 3mm (pay attention to the position of lead) → see the sequence → simulation → walk the boundary → start cutting.
③ When cutting multiple lines: select the figure to be cut → select the outermost border to clear the guide line and guide line → select all → sort the complex figure first, Then select small images (ignore this step for simple graphics) → select all → array → select all → share edges (select horizontal, plane and vertical) → select all for decomposition (select the border only if there are irregular graphics inside) → set leader (The leader angle is 0 °, and the complex shape is set to 90 °. When the complex shape is relatively complex, you can select the inside shape, select the similar shape in the upper left corner → cut → guide) → see the order (if it is not the best order, you can right-click to specify the start shape) → along the border → start cutting.
④ For thin plates or small pieces, micro-joint is required to prevent tilting and warping: click the inverted triangle → automatic micro-joint (thick plate thickness: 0.5 - 0.2 mm) plate: 1.0 - 1.2 mm) or notch or bridge.
⑤ When the whole board is arranged and cut, it cannot be cut completely the next day: pause → stop → mark the coordinates, after starting → return to the coordinates → continue at the breakpoint.
Laser cutting machine cuts pipes.
(Every time you start the machine, you should return to the original point): ① Open the tube cutting software → File → Read the graphics → Click the process parameters → Select the carbon steel with the appropriate thickness → Change the nozzle, adjust the air pressure, adjust the focal length according to the display in the lower right corner → Dock (the farthest end must be selected) → Select the circle → Tool lead → 3mm → OK → Sort from large to small → Sort → Turn on the laser → Put on the tube → Adjust the position, The distance from the top to the laser is a certain distance (4mm) → press and hold fast to automatically search for edges → it is best to search for edges on all four sides and record the value of the X at the bottom right of the computer to find three similar ones → record the rotation center of one side (if it is a flat tube, the small side is upward to record the rotation center) → cut (see if the tube is skewed when cutting).
② From plate cutting to tube cutting: return to the original point under the plate cutting software → close the laser → close the plate cutting software → open the tube cutting software → twist the plate cutting to the tube cutting → move to the left to return to the original point → open the laser → upper the tube → click the process parameters → select the carbon steel with the appropriate thickness → change the nozzle, adjust the air pressure Adjust the focal length → dock (the farthest end must be selected) → select the circle → guide line → 3mm → confirm → sort from large to small → sort → turn on the laser → put on the tube → adjust the position, and the distance from the top to the laser is a certain distance (4mm) → press and hold fast to automatically search the edge → record the rotation center → cut.
③ From pipe to plate: first move the machine head to the range of the machine tool → turn off the laser → turn on the pipe cutting software → return to the origin → turn on the laser.
4. Round pipe cutting: open the software → round pipe diameter → input diameter (input diameter is 0.5~1 (mm smaller than the actual diameter) → draw a straight line, manually input round pipe diameter hole → cut round pipe (input angle is required) → confirm → intersection line → intersection diameter (i.e. the diameter of the round hole to be cut on the round pipe) is smaller than the round pipe diameter → female cutting (male cutting) → guide line.
The laser cutter is switched off.
First turn off the servo → turn off the software → turn off the computer → turn off the water cooling → turn off the main switch → turn off the gas.
The problem of laser cutting machine.
① When the cutting surface is not smooth: reduce the speed to a minimum of 1000 → adjust f (increase carbon steel, reduce stainless steel) → increase the cutting height → adjust the air pressure (the thicker the plate, the lower the air pressure, the thinner the plate, the higher the air pressure).
② The nozzle is caused by jitter and incomplete cutting.
③ Commonly used: compensation → not inside. Inward contraction: inside → outward expansion. Example: If the required hole is 20mm and the actual hole is 20.1mm, the slot width is 0.05 mm.
④ When cutting numbers: use the blasting button at the lower left corner to separate the whole → select one → bridge.
5 When cutting the plate: place the plate → automatic edge finding, without manually erecting the plate, you can cut directly after edge finding.
6. When the lead cannot be set, you can choose to display the unclosed graphics in the display.
7. Common → Optimization → You can connect lines or delete some lines.
8. Those with rounded corners cannot share edges, and those with circular arcs must have gaps. Next line: 4 When arranging the J-hook.
9. From top to bottom: collimator, focusing mirror, protective mirror, ceramic body, nozzle.
Maintenance of laser cutting machine
① Clean the dust screen of the water cooler once every 15 days and change the water once every 15 days.
② Tighten screws and oil regularly.
③ Machine tool lubrication: press and hold SET all the time, display the first one: 20s, add 20s once; Keep pressing to display the second: 240min, one cycle; Press SET all the time to finish. Add oil (oil or gear oil) when it is under the label.
④ The guide rail and gear shall be maintained once a month: first blow with an air gun, then wipe with a rag, and finally brush with oil.


We use cookies to offer you a better browsing experience, analyze site traffic and personalize content. By using this site, you agree to our use of cookies.
Privacy Policy